:max_bytes(150000):strip_icc()/Byr_PerfectRedLip_LeadRecirc-c750499e1f424cd1992fac8de5deaa96.jpg)
Ashley Rebecca / Byrdie
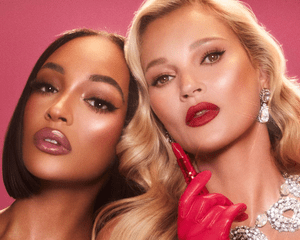
One of the most classic makeup looks (frequently worn on the red carpet and in everyday life), red lips never go out of style. And with endless shades and finishes to choose from, the look is fun to play with, too.
Whether you opt for a sheer red lip or something bold and opaque, the most important thing is that it lasts as long as possible and through any event or occasion you might be facing. Wearing a red lip can be an instant confidence boost, so the last thing you want is smearing or smudging. Ahead, we asked celebrity makeup artist Shayna Goldberg to give us all her tips for creating a red lip—and making it last. Read on for our step-by-step guide.
Meet the Expert
Shayna Goldberg is a celebrity makeup artist working in both New York City and Los Angeles.
Don't Skip the Prep Step
:max_bytes(150000):strip_icc()/stepone-c44c8e6ee4bd4b38b74984adcc034e01.jpg)
Ashley Rebecca / Byrdie
Prepping your skin for any makeup look is an important step that cannot be missed, and the same goes for your lips before applying red lipstick. But the prep for this is actually quite minimal and not as involved as you might think.
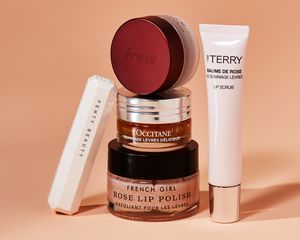
"I like to exfoliate the lips before red lipstick and pat [them] dry with a tissue or even add some loose powder," says Goldberg. "The important thing is not using any form of hydration" on the lips to ensure a smooth and lasting application and that the lipstick truly adheres to the skin without slipping.
After exfoliating the lips, Goldberg likes to "start from the inside out, applying a thin layer from the bullet or tube and pressing lips together to disperse the color," she explains. "From there, I feel it's a little easier to go in with a similar tone lip liner and build out your desired shape."
I followed Goldberg's advice and applied a thin layer of lipstick on the inner portion of my lips, gently pressing them together to help disperse the color. This is also a great way to ensure that when you're talking, there isn't a distinctive line between the red lipstick and the inside of your lip area.
Line and Define
:max_bytes(150000):strip_icc()/steptwo-4104f92be9a842efaaec97ad67364203.jpg)
Ashley Rebecca / Byrdie
After the exfoliating and initial lipstick application on the inner lip area, Goldberg recommends using a lip liner to start building out your desired shape. I applied Gucci Beauty's Long Lasting Bold Lip Liner in Rouge to the bottom of my lips first, then continued the shaping on the top portion of my lip while using the liner to fill in my lips to create a base color before the lipstick.
Whether you want to shape your natural lips or overdraw them slightly, lip liner is an important step that can't be skipped when creating a lasting red lip. The liner can create a shape that lipstick alone cannot.
Bring in the Lipstick
Ashley Rebecca / Byrdie
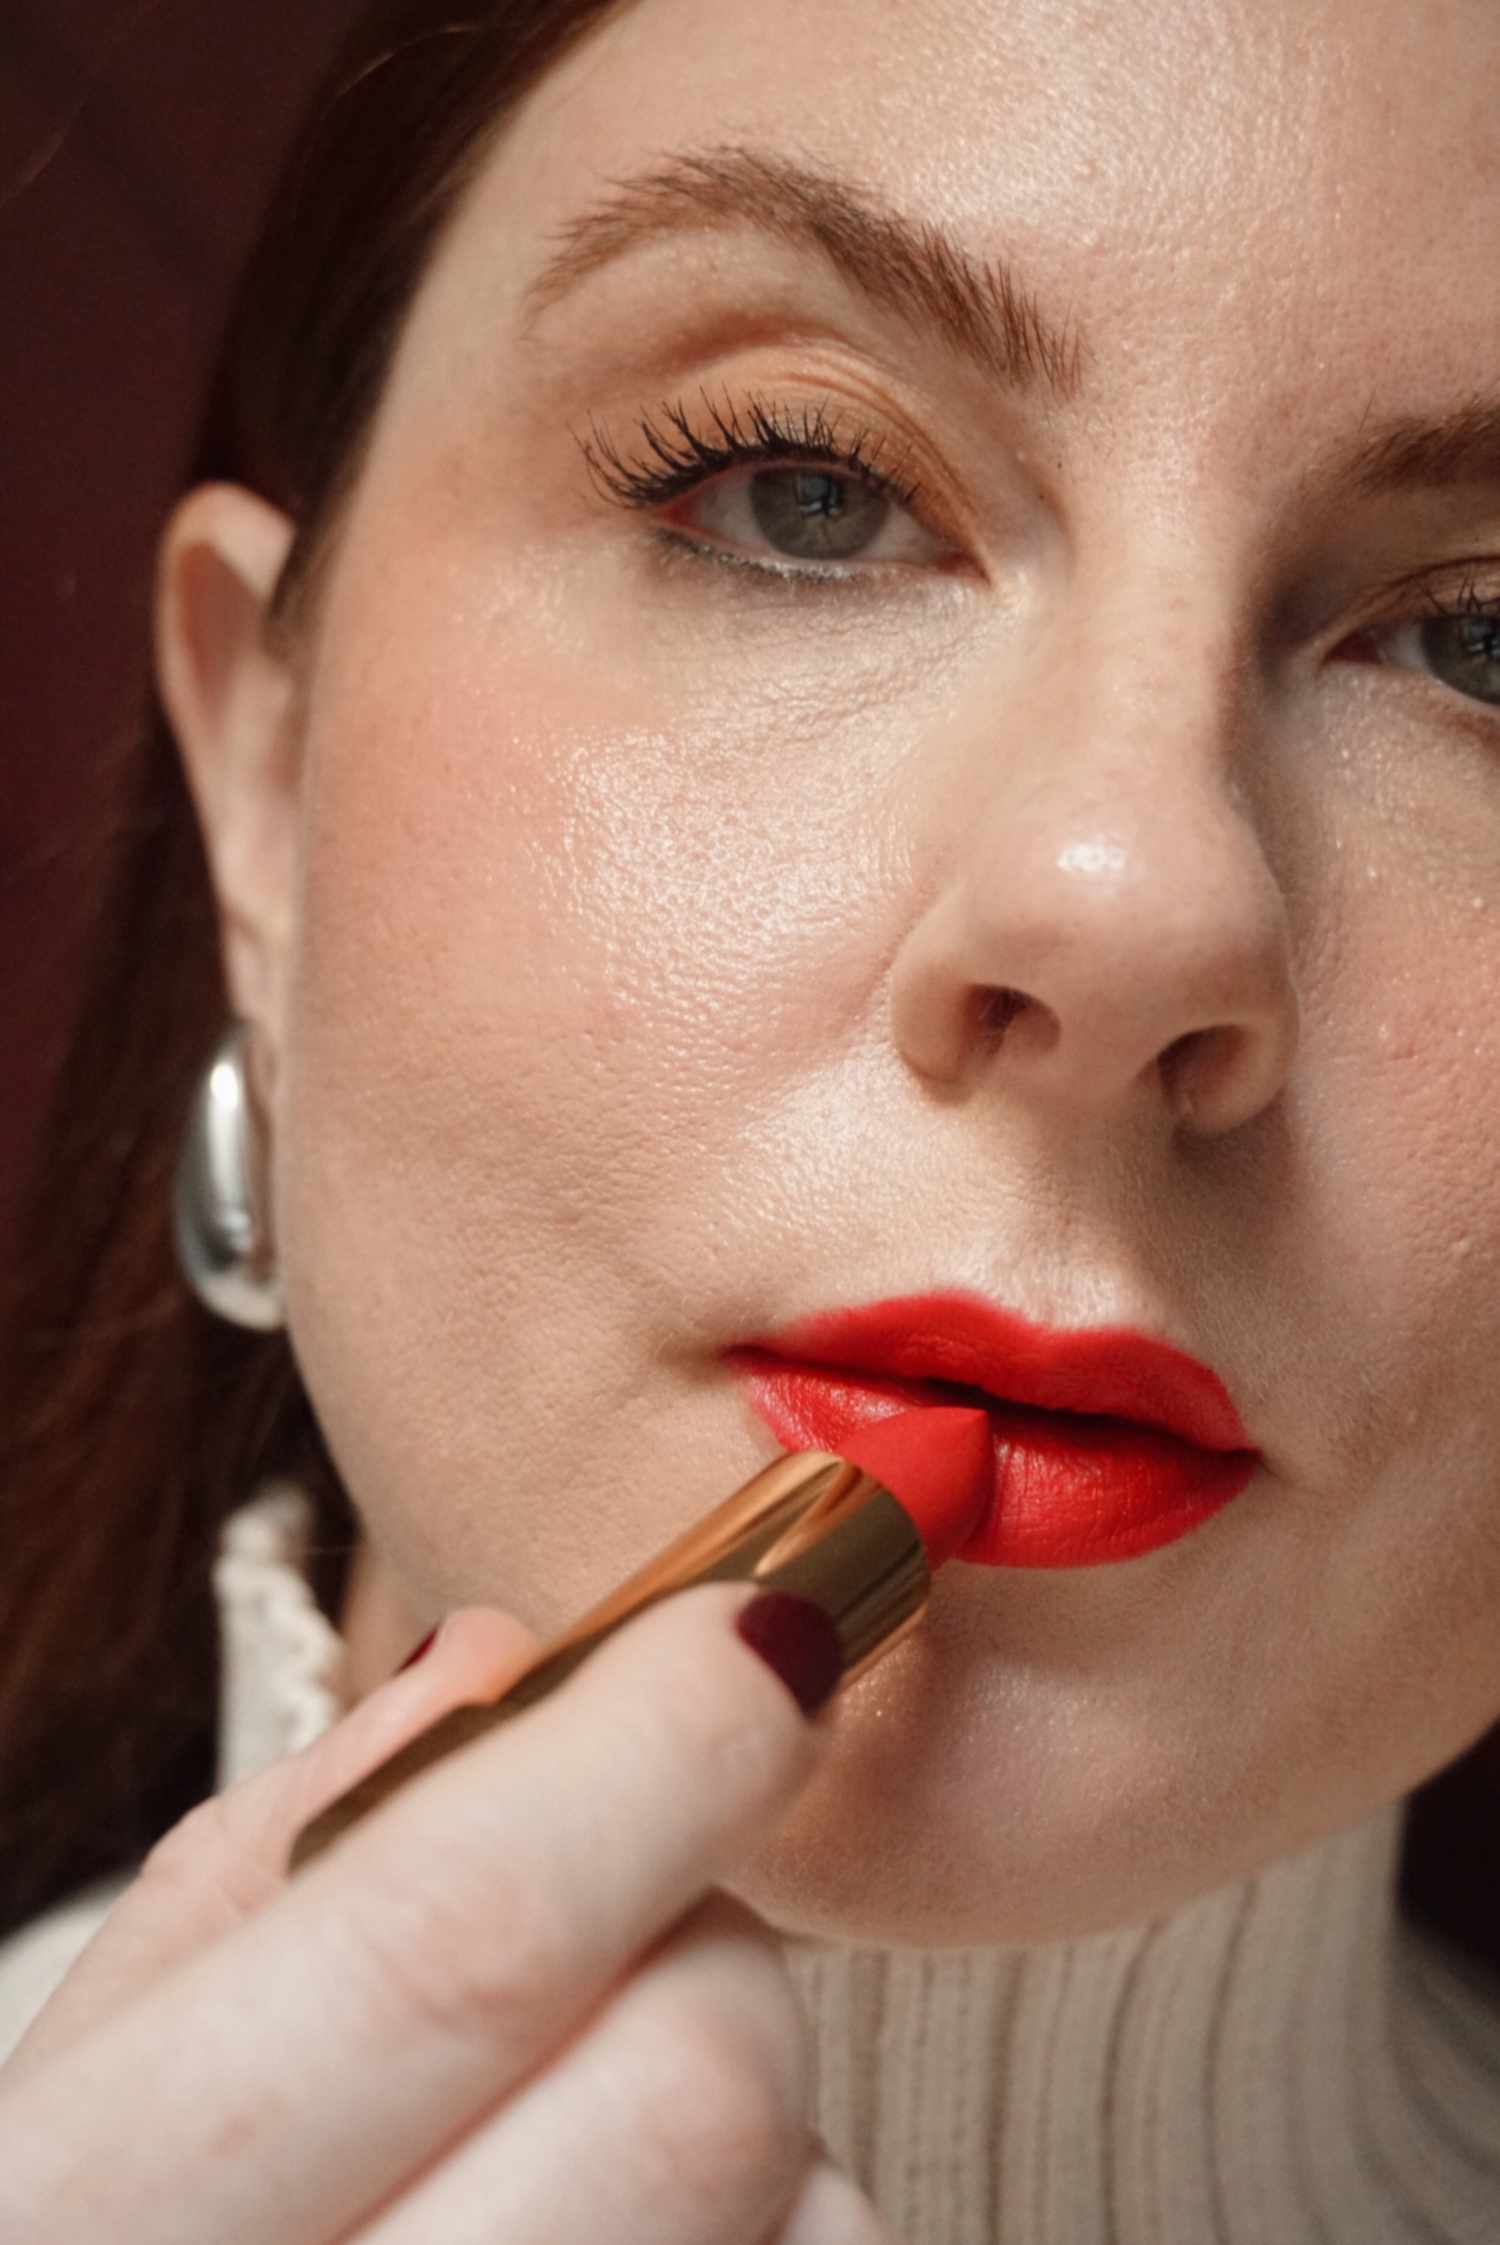
After you've mapped out the shape with your lip liner, you can start applying your lipstick of choice. I love a bold, matte red lip, so that's what I went for, using Gucci Beauty's Velvet Matte Lipstick in Goldie Red. I applied it on top of the liner, maintaining my shape as much as possible. I started at the center of my lips first, then glided outward to ensure I reached the corners as best I could.
Perfect the Shape
Ashley Rebecca / Byrdie
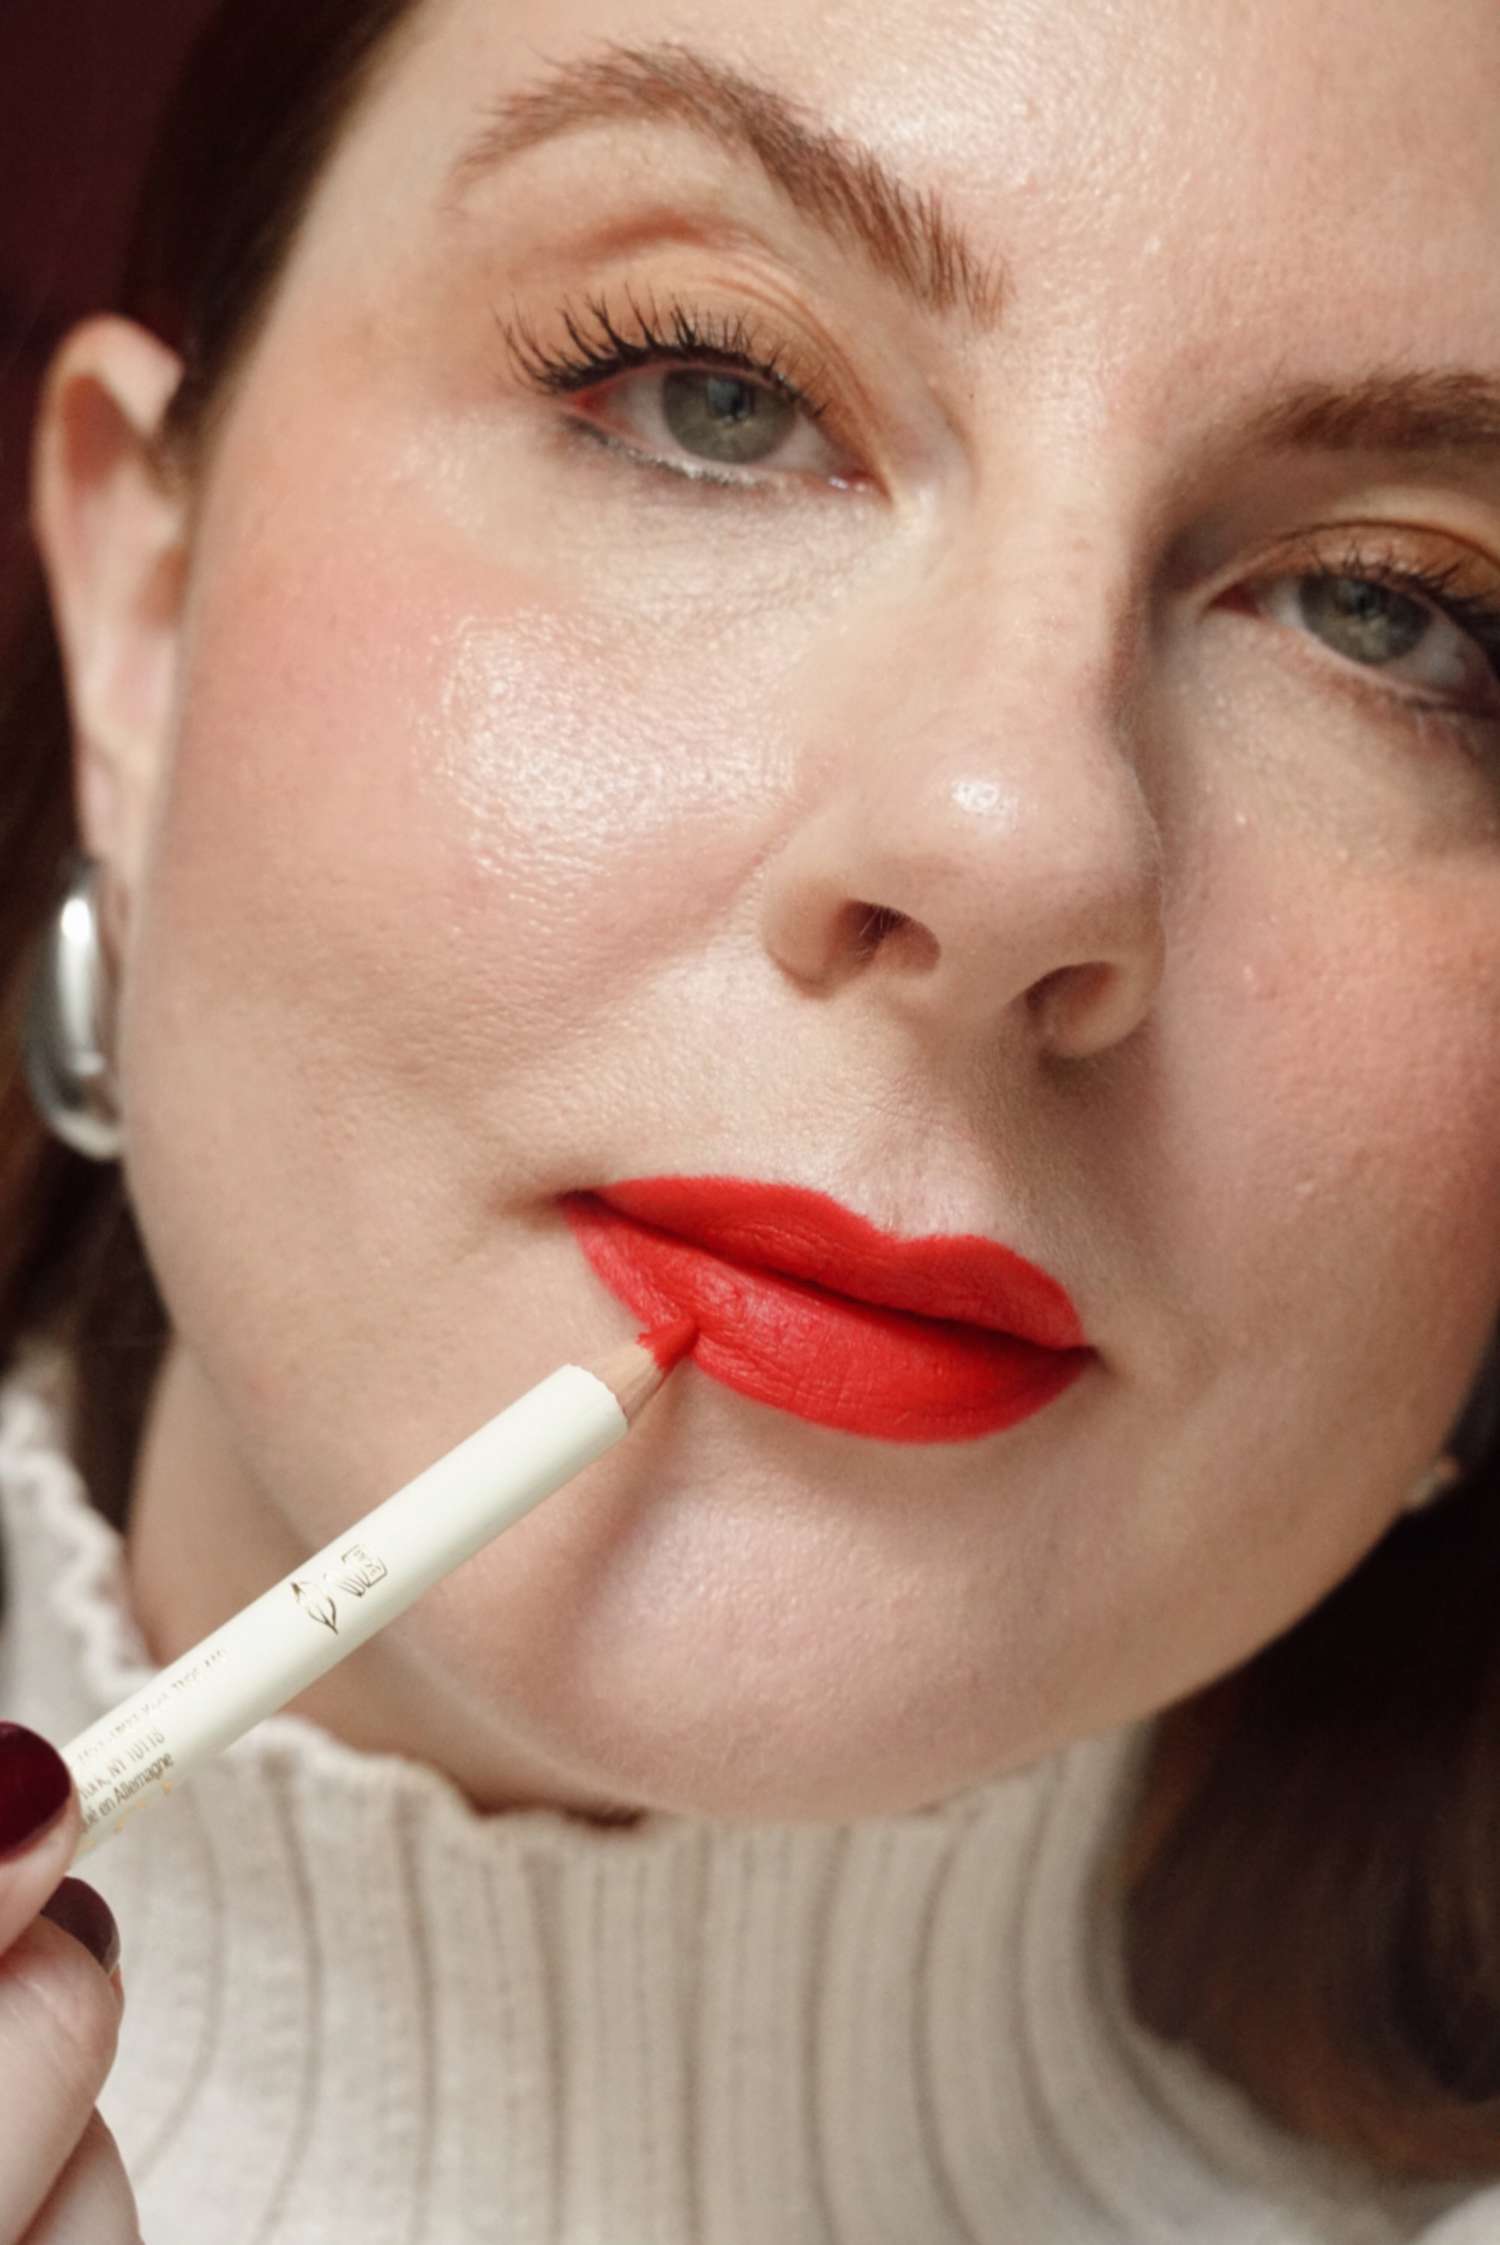
After applying the lipstick, I went back in with the lip liner to help define the shape and smooth out any edges. This part is crucial, as it can help lock the lipstick in and ensure it lasts even longer (plus, you can increase the saturation tone of the lip color). And since the lip was the focus of my entire look, I wanted to ensure the shape was exactly what it should be.
"You can wear a bold red lip any time of the day," says Goldberg. She recommends a natural makeup look to accompany it: "I think the best impact for a red lip is when it gets center stage," she says. I opted for a touch of foundation, blush, brows, and mascara. The more natural the makeup, the more attention your red lip will get.
Byrdie Tip
Don't have a red lip liner? No problem. If you've got a nude lip liner, that will also work; you'll just need to be a bit more strategic with your application. If the nude tone is slightly deeper, you'll need to go over it with the lipstick to help hide the color so that it appears as though it matches.
Clean It Up
Ashley Rebecca / Byrdie
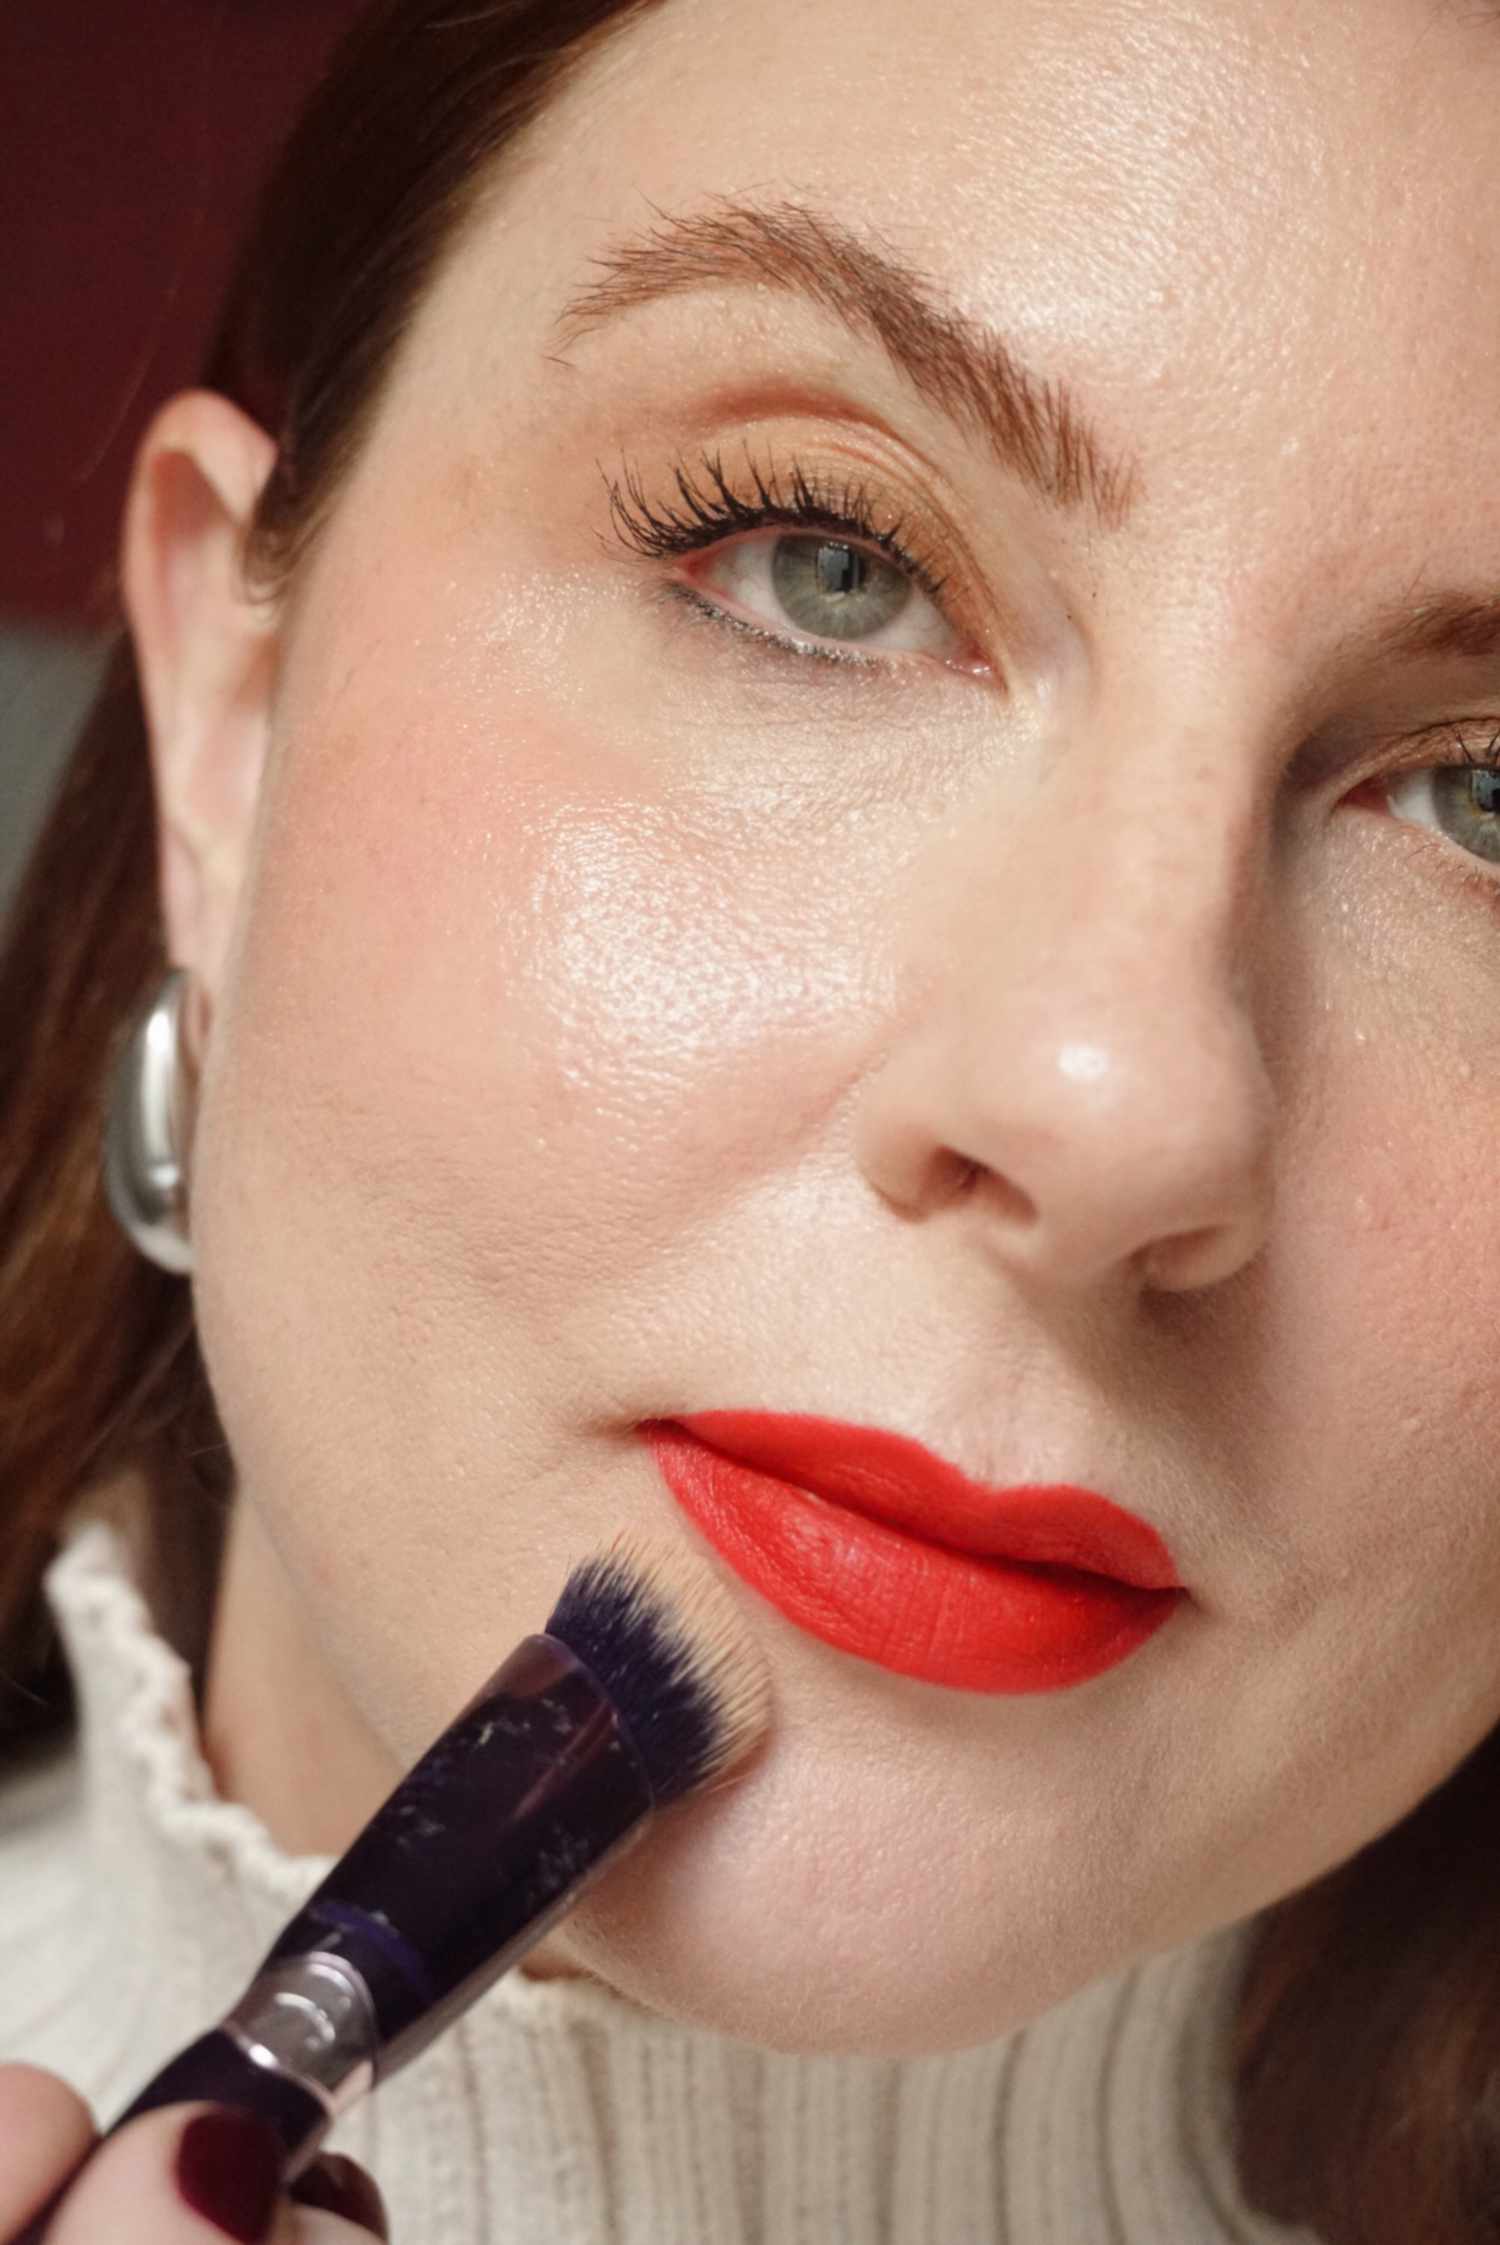
When working with bright, bold reds, they'll likely smear or smudge during application. So, after you've finished applying your lipstick and liner, go back in with some concealer and a concealer brush to clean up any lipstick outside your natural lip line. I used Anisa Beauty's Angled Concealer Brush around my lip area.
You can apply the concealer by tracing it around the mouth, then going back in with the brush and blending it out to help highlight the shape and clean up any mistakes. You can also smooth the edges out with a cotton swab and then use concealer (whichever method is easiest for you and most precise).
The Final Look
Ashley Rebecca / Byrdie
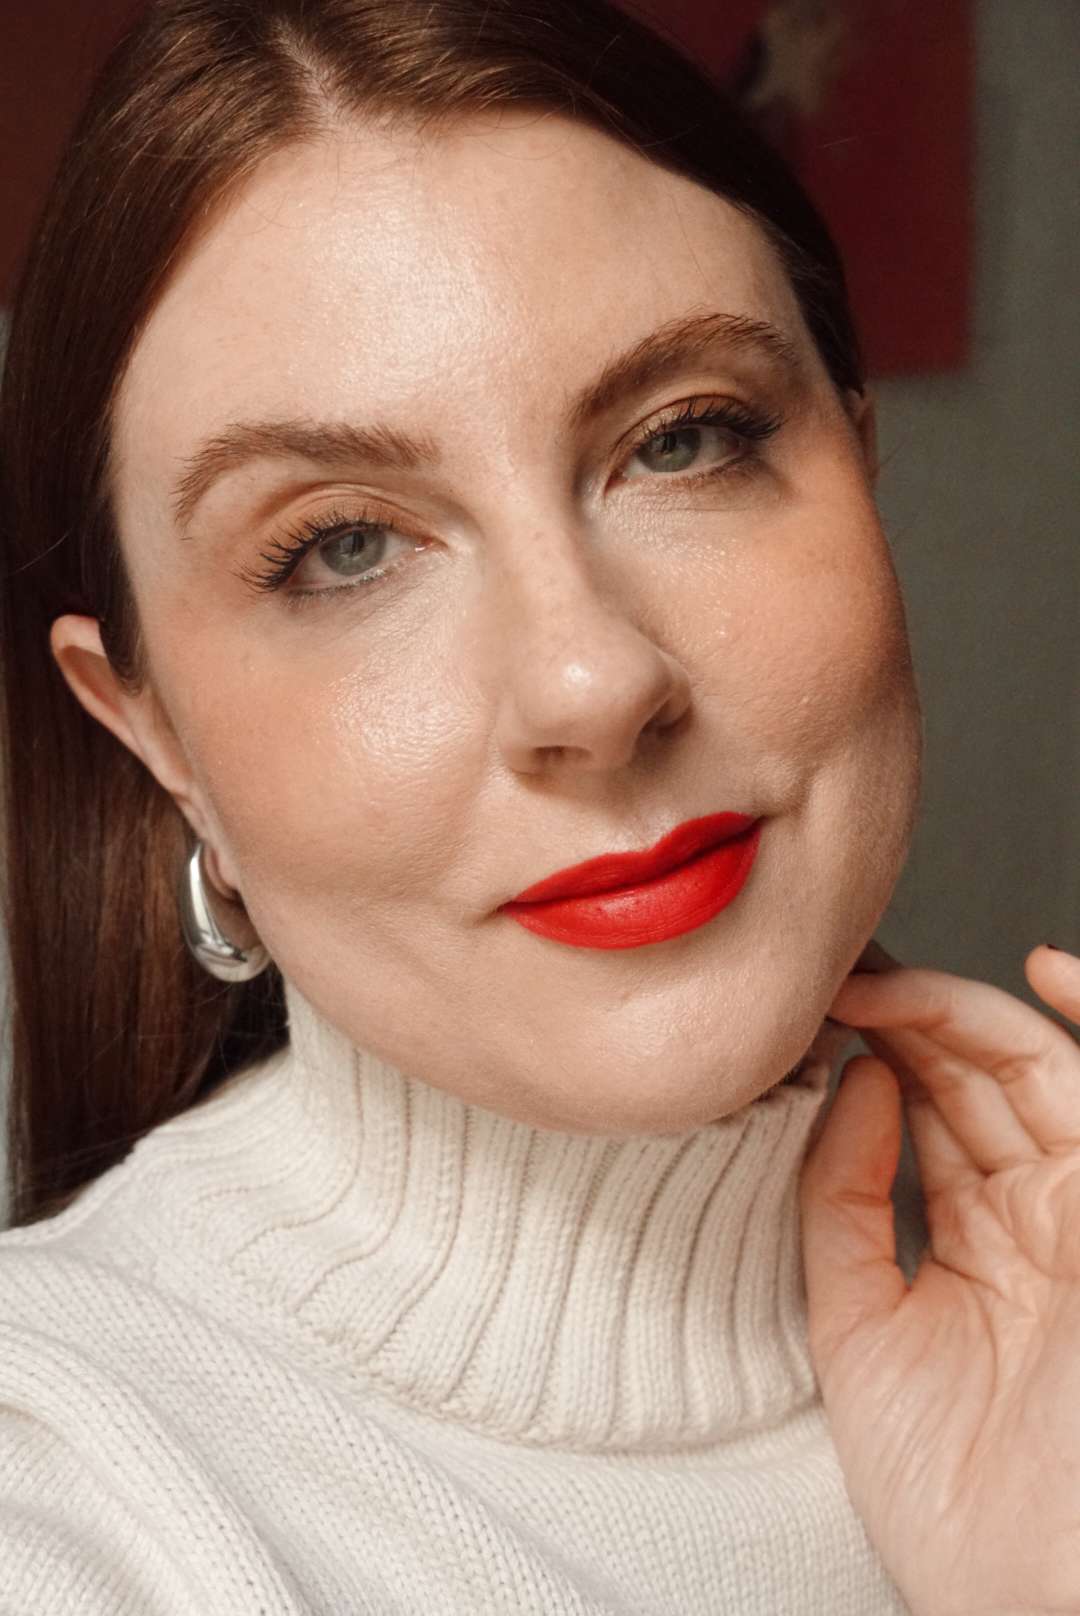
Voilà! You are now a red lip expert. After you've shaped your lips to perfection, you're ready to debut your powerfully bold red lip look. Whether you've got a full night ahead or just want to glam up your makeup during the day, one thing is for certain—this stunning red lipstick look will last!

