:max_bytes(150000):strip_icc()/makeupsponge1-cf7ccda94c01427abd535adb40895ab2.jpg)
Stocksy
Let’s be honest: When was the last time you really washed your beautyblender? Many of us will admit we're guilty of putting it off longer than we should. But besides the fact that applying makeup with dirty sponges is unhygienic, sullied sponges are also a breeding ground for bacteria and mold, which can cause breakouts, irritations, rashes, and skin sensitivities. "If people understood what’s in their sponges, I genuinely think they would clean them more," celebrity makeup artist Jenepher Reynolds says.
But how should you go about washing your makeup sponges? To find out, we asked pro makeup artists to give us the complete rundown. Ahead, they are unpacking everything you need to know about cleaning your makeup sponges.
Meet the Expert
- Jenepher Reynolds is a celebrity makeup artist and owner and CEO of About Face Cosmetics.
- Simone Otis is 19/99 Beauty’s lead makeup artist.
How to Wash Makeup Sponges
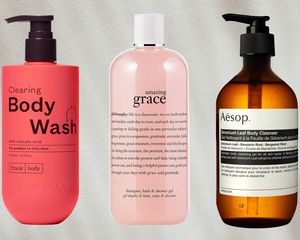
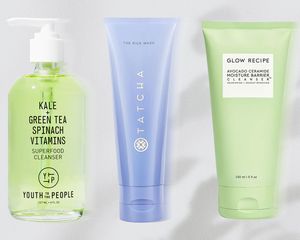
Whether you use liquid dish soap, bar soap, gentle antibacterial shampoo, face cleanser, or a specialty makeup cleanser (like Beautyblender BlenderCleanser Liquid) to wash your sponge, the key is to get it as clean as possible.
- First, wet the sponge so that it is saturated and expands to max capacity. Then, add the cleanser of your choice. If you're using a solid bar, Reynolds says to rub all sides of the sponge with it and squeeze it multiple times to work the soap into it. With liquid cleanser, pour it directly onto the wet sponge and use the palm of your hand to work up a lather by pressing on and massaging the sponge. A textured pad like the Sigma Beauty Express Brush Cleaning Mat is another option for creating friction to help dislodge makeup without damaging the sponge.
- Create enough lather to coat the entire sponge. Concentrate on areas where there are hard-to-remove spots and stains. Once the sponge is clean, rinse it under lukewarm water while gently squeezing it to release makeup, oil, and dirt. "When the water rinses clear, the sponge is clean," Reynolds says. Repeat the process for sponges that veer more on the dirty side.
- Now, squeeze out as much excess water as possible, gently blot the sponge against a clean towel, and set it down to dry. Although it may be tempting to use a blow dryer to speed up the drying process, don't. The heat can melt the sponge or cause its shape to become deformed. Instead, place the sponge on a clean towel or bamboo drying rack, which 19/99 Beauty's lead makeup artist Simone Otis prefers, to avoid mold growth. "Always let them air dry thoroughly (usually overnight) and in an area with good air circulation," she adds.
- Once your sponge is clean and fully dry, you can pop it into a UV sanitizing box or device, such as Brushean Makeup Brush Sanitizer, for an extra dose of disinfecting.
Byrdie Tip
To remove stubborn makeup, Reynolds recommends using olive oil. "After cleansing the sponge normally, wash it with unflavored regular olive oil, which will help break down the makeup," she says.
How Often Should You Wash Your Makeup Sponges?
Ideally, you should wash your makeup sponges after every use, but that's not realistic for most people. "Realistically, wash them once a week at minimum, and run the sponge under warm water until the water runs clear after every use," Otis says.
According to Otis, regularly cleaning your makeup sponges is imperative from a cleanliness standpoint. "Over time, bacteria will build in your sponges and brushes, and you want to prevent that." Plus, applying makeup with a dirty sponge will transfer bacteria within the sponge to the skin, leading to potential breakouts, skin sensitivities, or rashes.
When Should You Replace Your Makeup Sponges?
Reynolds says it's best to discard your makeup sponges every two to three months, especially if you use them daily. "If you don't wash your sponges regularly, replace them every three to four weeks," she notes.
Since it can be difficult to remember how old your sponge is, certain clues hint it's time for a replacement. For example, if your sponge smells rotten or moldy, toss it immediately. You should also get rid of it if it feels stiff, doesn't rinse clean, or is full of rips and tears.
The Final Takeaway
Washing your makeup sponges should be a daily practice, but weekly is a safe second option. All you need is your favorite cleanser—like liquid dish soap, bar soap, gentle antibacterial shampoo, face cleanser, or specialty makeup cleanser—to make your makeup sponge look brand new. Ultimately, keeping your sponges clean will ensure your makeup applies seamlessly and minimize the chance of skin breakouts, irritations, rashes, and sensitivities.


